Build a Free Over-the-Air TV DVR with HDHomeRun and Jellyfin
Record free broadcast TV from an antenna and watch it live or recorded on any TV box, using an HDHomeRun tuner and Jellyfin on a Raspberry Pi. No monthly DVR fee, and only optional guide data costs money.
How It Works
Local channels (ABC, CBS, NBC, FOX, PBS and more) broadcast free over the air. This setup turns that signal into your own DVR:
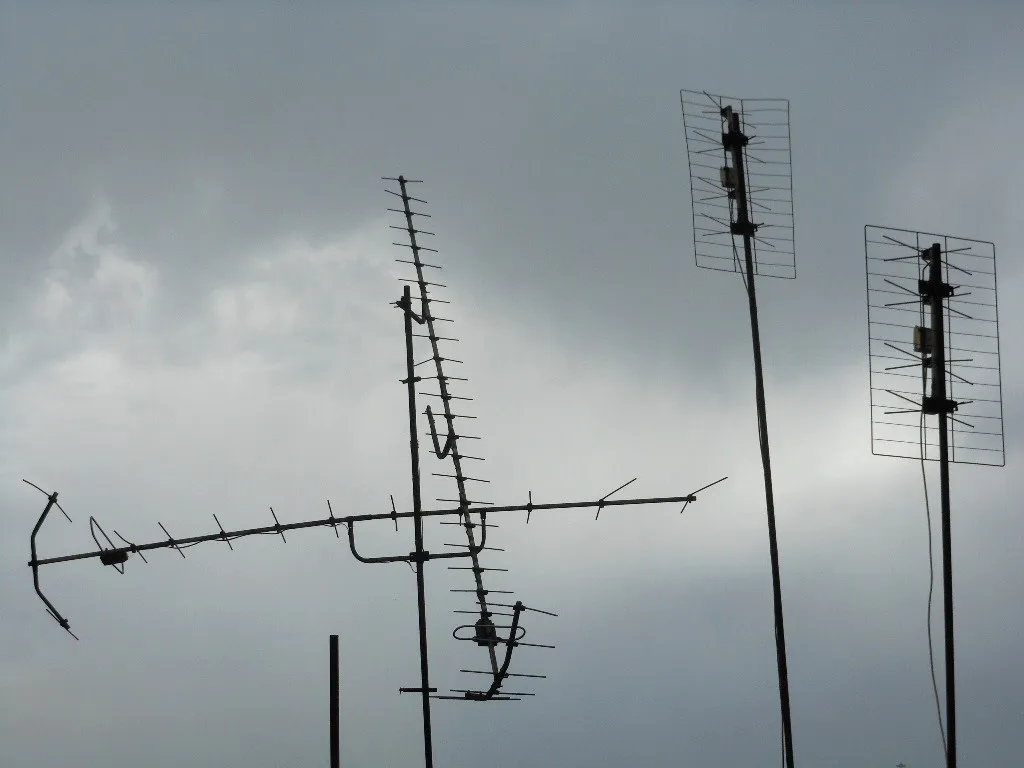
- An antenna picks up the broadcasts.
- An HDHomeRun network tuner converts them into streams on your home network.
- Jellyfin on a Raspberry Pi shows the channels and a program guide, and records shows to a drive.
- The Jellyfin app on your TV box, phone or browser plays live TV and recordings.
Compared with a cable or live-TV streaming subscription, the running cost is just the TV guide data, about $35 a year (more on that below). Our cord-cutting hub helps you see what that saves.
This is the advanced, do-it-yourself route. If you’d rather pay for something that just works, HDHomeRun’s own DVR service ($35/year) or Channels DVR are simpler.
What You’ll Need
- An antenna. Check which stations reach your address first; the FCC’s DTV reception maps (fcc.gov/media/engineering/dtvmaps) show signal strength by street address.
- An HDHomeRun tuner. The two-tuner Flex Duo (about $100–110) records or plays two channels at once. Models with “4K” in the name add ATSC 3.0 (“NextGen TV”) tuners; see the ATSC 3.0 note below before paying extra for them.
- A Raspberry Pi 5 running Jellyfin. Follow our Jellyfin on Raspberry Pi 5 tutorial first.
- A USB drive for recordings. An hour of HD broadcast takes several gigabytes, so a 1–2TB drive goes a long way.
- A Schedules Direct account for TV guide data: $35/year, with a 7-day free trial. US and Canada only.
- Ethernet for the HDHomeRun (it has no Wi-Fi) and ideally for the Pi.
Step 1: Connect the Antenna and HDHomeRun
- Connect the antenna’s coax cable to the HDHomeRun.
- Plug the HDHomeRun into your router with Ethernet, then into power.
- On a phone or computer on the same network, install the HDHomeRun app or open my.hdhomerun.com, and run a channel scan.
If you get few channels, move the antenna higher or nearer a window facing the broadcast towers, and scan again. Getting the antenna right matters more than anything else in this tutorial.
About ATSC 3.0: most major-network stations encrypt their ATSC 3.0 channels, and HDHomeRun tuners can’t play those encrypted channels in Jellyfin. SiliconDust, which makes HDHomeRun, says it is working on support but hasn’t shipped it. In most markets the same channels are still broadcast in the older ATSC 1.0 format too, and those work fine, so a Flex Duo covers most people. Check your area’s channel list in the scan before buying a 4K model.
Step 2: Add the Tuner to Jellyfin
In Jellyfin, go to Dashboard → Live TV.
- Under Tuner Devices, click +. Jellyfin usually finds the HDHomeRun on its own; pick it from the list, or enter its IP address (shown in the HDHomeRun app).
- Save. Jellyfin now knows your channels, but it has no program guide yet, and it can’t record without one.
Step 3: Get Guide Data from Schedules Direct
Jellyfin has a built-in Schedules Direct option, but Schedules Direct currently warns that Jellyfin’s built-in support has bugs that can get your IP address blocked. Use the official XMLTV grabber instead, which Schedules Direct recommends. It writes the guide to a file that Jellyfin reads.
- Sign up at schedulesdirect.org. In your account, add the lineup for your area and choose “Antenna” as the source.
- On the Pi, install the XMLTV tools:
sudo apt update
sudo apt install -y xmltv-util- Configure the grabber. It asks for your Schedules Direct username and password, then which lineup to use:
tv_grab_zz_sdjson --configure- Download a week of guide data into a folder Jellyfin can read:
sudo mkdir -p /srv/xmltv
sudo chown $USER /srv/xmltv
tv_grab_zz_sdjson --days 7 --output /srv/xmltv/guide.xml- Refresh it automatically every night at 3am. Open your crontab:
crontab -eAnd add this line:
0 3 * * * tv_grab_zz_sdjson --days 7 --output /srv/xmltv/guide.xml --quietStep 4: Connect the Guide and Map Channels
Back in Dashboard → Live TV:
- Under TV Guide Data Providers, click + → XMLTV and enter the file path
/srv/xmltv/guide.xml. Save. - Jellyfin matches guide entries to your tuner’s channels by number. Open Map Channels and fix any that didn’t match; this is usually a handful of sub-channels.
- Click Refresh Guide Data. Open Live TV from the Jellyfin home screen and you should see a full program guide.
Step 5: Set Up Recording
- In Dashboard → Live TV → DVR (shown as recording settings in some versions), set the recording path to a folder on your USB drive, such as
/mnt/media/Recordings. Make sure thejellyfinuser can write to it:
sudo mkdir -p /mnt/media/Recordings
sudo chown jellyfin:jellyfin /mnt/media/Recordings- Optionally add padding (start a minute early and end a few minutes late), because broadcasts often run over, especially sports.
- To record, open a show in the guide and click Record, or Record Series to get every new episode automatically.
Recordings appear in Jellyfin’s Live TV section and play on every device like the rest of your library.
Step 6: Watch on Your TV
Open the Jellyfin app on your TV box and pick Live TV. You get the guide, live channels and your recordings. Two things to know:
- Each live channel or recording in progress uses one tuner. A Flex Duo can do two at once.
- Broadcast TV uses MPEG-2 video, an older format. Many TV boxes play it directly; when one can’t, Jellyfin converts it on the Pi’s CPU, which is slow and manages one stream at best. If live TV stutters on one TV box but not on another device, the box is the problem, and Dashboard → Activity will show the stream transcoding.
Troubleshooting
Jellyfin doesn’t find the tuner: add it by IP address. If Jellyfin runs in Docker, it needs host networking for HDHomeRun.
The guide is empty: run the grabber command by hand and check /srv/xmltv/guide.xml is a few megabytes, then Refresh Guide Data. Run tv_grab_zz_sdjson --configure again if your lineup is wrong.
Some channels have no guide: fix them in Map Channels. ATSC 3.0 channels can show up twice; map the guide to the ATSC 1.0 version.
Recordings fail: check the recording folder is writable by jellyfin (Step 5) and that the drive has space. Note that Jellyfin can’t record without guide data.
Picture breaks up on every device: that’s the signal, not the Pi. The HDHomeRun app shows signal strength and quality per channel; low quality means repositioning the antenna, or adding a preamp for distant stations.