
Build a Private ChatGPT for Your Home with Open WebUI
Put a ChatGPT-style chat page in front of your local Ollama models with Open WebUI, so every phone and laptop in the house can use your own AI, with chats that never leave your network.
What You’re Building
Ollama runs AI models, but on its own you chat with it in a terminal. Open WebUI is a free, open-source web app that gives it a familiar ChatGPT-style interface: a chat list, model picker, file uploads and separate accounts for everyone in the house. Chats are stored on your own server, and nothing goes to a third party unless you add a cloud API key yourself.
This tutorial runs Open WebUI with Docker on the same machine as Ollama. That can be:
- A Raspberry Pi 5, set up with our local LLM on Raspberry Pi tutorial. Fine for small 1–3B models.
- A PC with a graphics card for faster, larger models. See our local AI on a gaming PC tutorial.
The commands below are for the Pi (or any Linux machine). On Windows, install Docker Desktop and run the same docker run command in PowerShell.
What You’ll Need
- Ollama installed with at least one model pulled (
ollama listshows them) - Raspberry Pi OS (64-bit) or another Linux, with internet access for the first install
- About 2GB of free disk space for Open WebUI
Step 1: Let Docker Containers Reach Ollama
Open WebUI runs in a container, which counts as “another machine” to Ollama. Ollama only listens to the machine it runs on by default, so make it listen on the network. On the Pi:
sudo systemctl edit ollama.serviceAdd these lines and save:
[Service]
Environment="OLLAMA_HOST=0.0.0.0"
Restart Ollama and check it answers:
sudo systemctl restart ollama
curl http://localhost:11434/api/tags
This is the same step as the optional Step 4 of our Pi LLM tutorial. Only do it on a trusted home network, and never forward port 11434 on your router.
Step 2: Install Docker
Docker’s convenience script installs the current version on Raspberry Pi OS:
curl -fsSL https://get.docker.com | sh
sudo usermod -aG docker $USER
Log out and back in (or reboot) so the second command takes effect, then check:
docker run --rm hello-worldStep 3: Start Open WebUI
Generate a secret key for signing logins:
openssl rand -hex 32Then start Open WebUI, pasting your key in place of YOUR-SECRET-KEY:
docker run -d -p 3000:8080 \
  --add-host=host.docker.internal:host-gateway \
  -v open-webui:/app/backend/data \
  -e WEBUI_SECRET_KEY=YOUR-SECRET-KEY \
  --name open-webui --restart always \
  ghcr.io/open-webui/open-webui:main
What the options do:
-p 3000:8080serves the web page on port 3000.--add-host=host.docker.internal:host-gatewaylets the container find Ollama on the same machine; Open WebUI looks for it athttp://host.docker.internal:11434automatically.-v open-webui:/app/backend/datakeeps your accounts and chats in a Docker volume, so they survive updates.--restart alwaysstarts it again after a reboot.
The first start downloads the image (a few minutes on a Pi). Follow along with docker logs -f open-webui, and press Ctrl+C to stop watching.
Step 4: Create the Admin Account
On any device at home, open http://YOUR-SERVER-IP:3000 (find the IP with hostname -I).
The first screen offers Create Admin Account. The first account becomes the administrator, and after that, sign-ups are switched off automatically.
Pick a model from the menu at the top of a new chat and say hello. If the model list is empty, Open WebUI can’t reach Ollama; go back to Step 1.
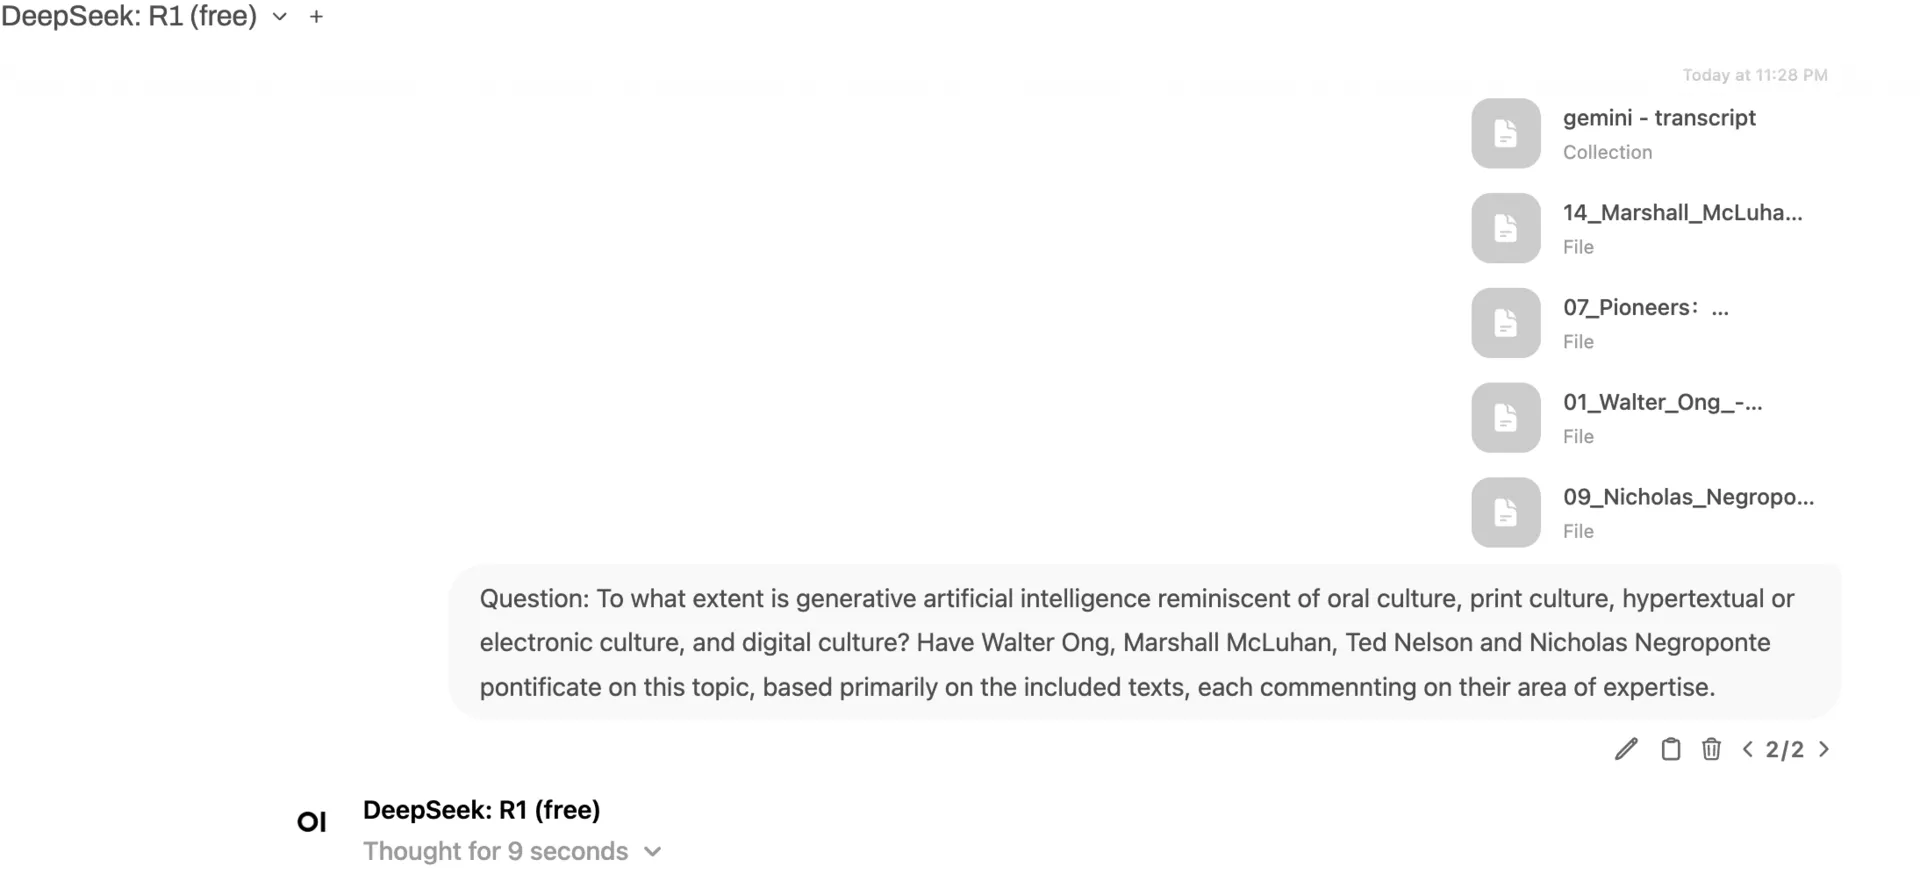 Open WebUI’s chat screen. You can attach documents and ask questions about them.
Step 5: Add Your Household
To give family members their own accounts and chat history:
- Go to Admin Panel → Settings → Authentication (the exact menu wording can vary between versions) and turn on New Sign Ups.
- Have each person open the same address and sign up.
- New accounts wait as Pending until you approve them under Admin Panel → Users.
Turn sign-ups off again when everyone’s in.
On phones, use the browser’s Add to Home Screen option and Open WebUI works like an app.
Tips
- Match the model to the hardware. On a Pi 5, stick to 1–3B models; Open WebUI itself uses some memory too. Larger models belong on a PC with a graphics card.
- Save prompts you reuse. Open WebUI can store prompt templates; our AI prompt library has streaming and home-tech prompts that work well with local models.
- Keep it at home. Like Ollama, don’t forward Open WebUI’s port on your router. To use it away from home, a private network tool such as Tailscale (see our Jellyfin remote access tutorial) is the safe way.
Updating Open WebUI
Pull the new image, remove the old container and start it again with the same command as Step 3. Your data lives in the open-webui volume, so nothing is lost:
docker pull ghcr.io/open-webui/open-webui:main
docker stop open-webui && docker rm open-webui
# then run the Step 3 docker run command again
Troubleshooting
No models in the menu: check curl http://localhost:11434/api/tags on the server lists your models, and that Ollama has OLLAMA_HOST=0.0.0.0 (Step 1).
The page doesn’t load: check the container is running with docker ps. If port 3000 is taken, change the first number in -p 3000:8080.
Replies are very slow: the model is too big for the hardware. Try a smaller one, such as llama3.2:1b on a Pi.
Forgot the admin password: the reset steps are in Open WebUI’s documentation; they involve editing the database inside the volume, so back up the volume first.