Turn a Spare TV into a Family Dashboard with a Raspberry Pi
Put the family calendar, weather, clock and headlines on a spare TV or monitor with MagicMirror² on a Raspberry Pi, start it automatically, and switch the TV on and off on a schedule.
What You’re Building
An old TV or monitor in the kitchen or hallway that always shows what the family needs at a glance: the time, today’s weather and forecast, everyone’s calendar events and a news ticker. It’s built with MagicMirror², a free, open-source dashboard made for the Raspberry Pi (the name comes from “smart mirror” builds that hide a screen behind two-way glass, but it works just as well on a plain TV).
What You’ll Need
- A Raspberry Pi 4 or 5 with the full desktop version of Raspberry Pi OS. MagicMirror needs a desktop and doesn’t run on the Lite version. See our Pi 5 getting-started tutorial.
- A spare TV or monitor, and an HDMI cable (micro-HDMI on the Pi 4 and 5)
- A keyboard and mouse for setup, or SSH access
- Your family calendar’s iCal link (Step 4)
Step 1: Install Node.js
MagicMirror needs a recent version of Node.js (22.22.2 or newer at the time of writing), which is newer than the one in Raspberry Pi OS’s own package list. Install the current long-term version from NodeSource:
curl -fsSL https://deb.nodesource.com/setup_24.x | sudo -E bash -
sudo apt install -y nodejs
node --version
node --version should print v24. followed by more numbers.
Step 2: Install MagicMirror²
cd ~
git clone https://github.com/MagicMirrorOrg/MagicMirror.git
cd MagicMirror
node --run install-mm
The last command takes a long time, often 10–20 minutes on a Pi, and can sit quietly for a while. Let it finish.
Then create your config file from the sample:
cp config/config.js.sample config/config.jsStep 3: First Start
From the Pi’s desktop (not over SSH), open a terminal and run:
cd ~/MagicMirror
node --run start
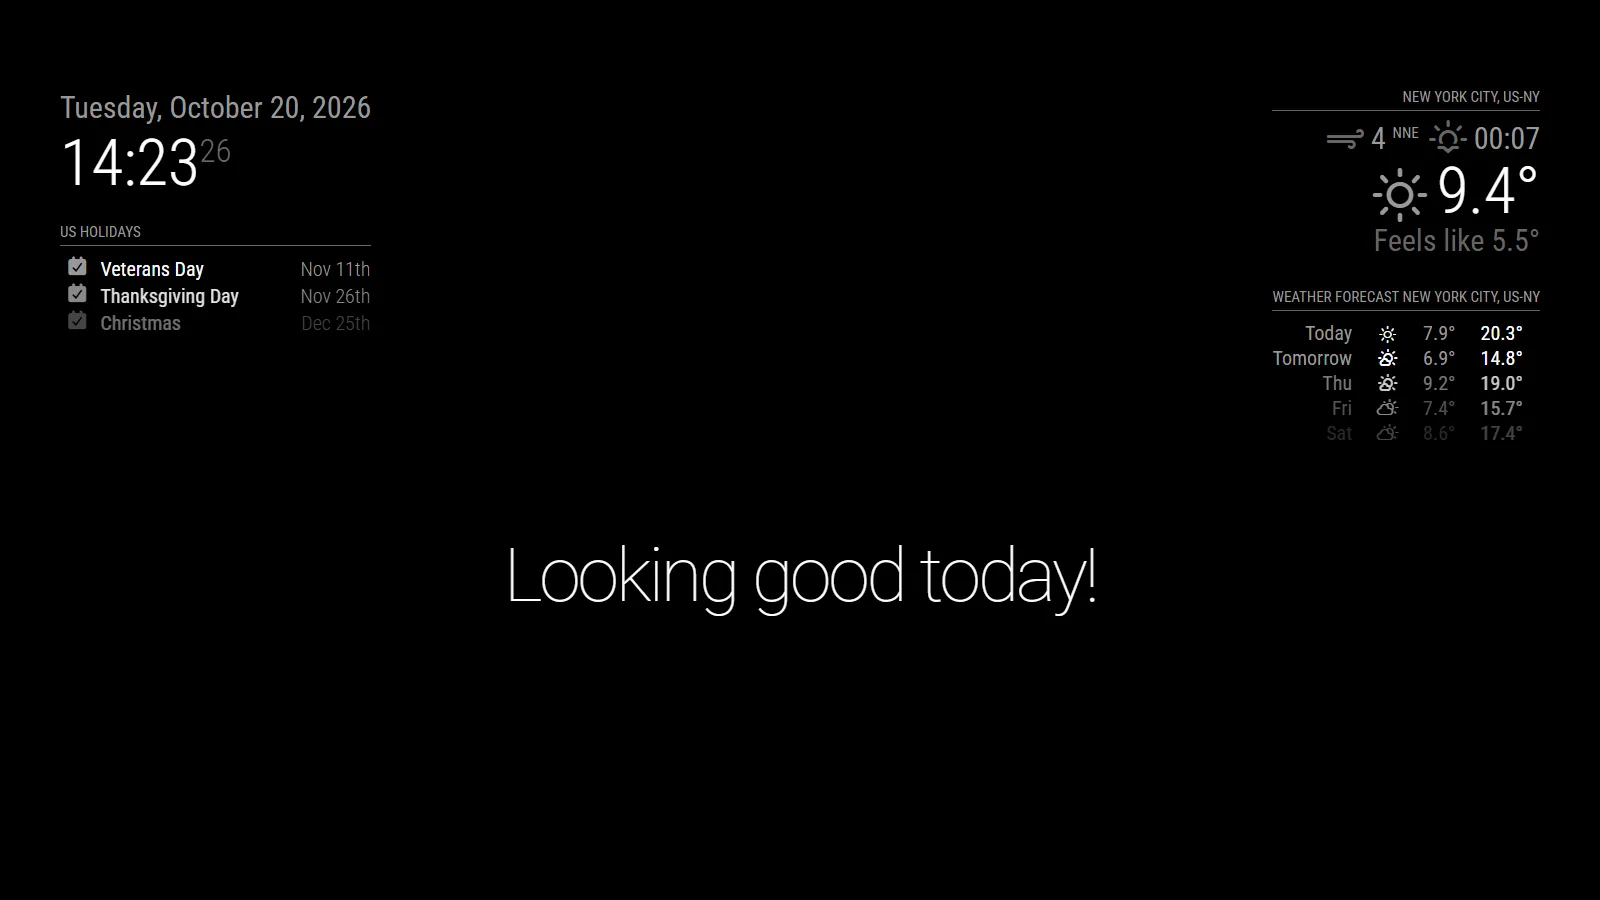
The dashboard fills the screen with a clock, US holidays, weather for New York, compliments and a news feed. That’s the sample config. Close it with Alt+F4, or press Ctrl+C in the terminal you started it from, then make it yours.
Step 4: Make It Your Family’s Dashboard
Open the config:
nano ~/MagicMirror/config/config.jsEach box on screen is a module with a position. Change these three to start:
Your weather
The weather modules use Open-Meteo, which needs no account or key. Find the two weather modules and replace the sample lat and lon with your location’s latitude and longitude (search your town on a map service to find them):
lat: 51.5072,
lon: -0.1276
Your calendar
Replace the US Holidays calendar’s url with your family calendar’s iCal address. In Google Calendar, open Settings → (your calendar) → Integrate calendar and copy the Secret address in iCal format. Change the header to something like “Family”. For several calendars, add more entries to the calendars list, each with its own url.
The secret address lets anyone who has it see the calendar, so keep it private.
Your news
Change the newsfeed module’s url to an RSS feed you like, or delete the whole module block for a calmer screen.
Save with Ctrl+X, Y, Enter, then start MagicMirror again to see the changes. If the screen is blank or shows an error, a comma or bracket is probably missing in the config; check it with:
cd ~/MagicMirror && node --run config:checkStep 5: Start It Automatically
Make the Pi log into the desktop by itself: run sudo raspi-config → System Options → Boot / Auto Login → Desktop Autologin.
Then create a user service that starts MagicMirror with the desktop:
mkdir -p ~/.config/systemd/user
nano ~/.config/systemd/user/magicmirror.service
Paste:
[Unit]
Description=MagicMirror
After=graphical-session.target

[Service]
Type=simple
Restart=always
RestartSec=15
WorkingDirectory=%h/MagicMirror
ExecStart=/usr/bin/node --run start

[Install]
WantedBy=default.target
Enable it:
systemctl --user daemon-reload
systemctl --user enable --now magicmirror
Reboot to check: the dashboard should appear on its own.
Step 6: Switch the TV Off at Night (Optional)
Most TVs support HDMI-CEC (often branded Anynet+, Bravia Sync or SimpLink; turn it on in the TV’s settings), which lets the Pi turn the TV on and into standby. Install the tools:
sudo apt install -y v4l-utilsTest it (the Pi registers itself as a playback device first, then sends the command):
cec-ctl -d /dev/cec0 --playback
cec-ctl -d /dev/cec0 --to 0 --standby
cec-ctl -d /dev/cec0 --to 0 --image-view-on
The second command should put the TV in standby and the third wake it. If nothing happens, try /dev/cec1 (the Pi’s other HDMI port).
To schedule it, run crontab -e and add, for example, off at 10pm and on at 6:30am:
0 22 * * * cec-ctl -d /dev/cec0 --playback && cec-ctl -d /dev/cec0 --to 0 --standby
30 6 * * * cec-ctl -d /dev/cec0 --playback && cec-ctl -d /dev/cec0 --to 0 --image-view-on
Not every TV handles CEC the same way; if yours ignores it, many TVs have their own on/off timers in the settings.
Ideas for More
MagicMirror has hundreds of community third-party modules, listed on its website: chore charts, bus departures, photo slideshows, Home Assistant sensors and more. Install them into ~/MagicMirror/modules following each module’s instructions, and only from sources you trust, since they run code on your Pi.
Troubleshooting
Black screen after starting: run cd ~/MagicMirror && node --run config:check; a typo in config.js is the usual cause.
“Electron” or display errors over SSH: start MagicMirror from the Pi’s own desktop, or use the autostart service in Step 5.
Calendar shows nothing: check the iCal link opens in a browser and downloads a .ics file, and that the calendar has events coming up.
The screen goes blank after a few minutes: turn off screen blanking with sudo raspi-config → Display Options → Screen Blanking → No.