Build a Private Voice Assistant with Home Assistant
Control your smart home by voice without Alexa or Google: set up Home Assistant's Assist with local speech recognition (Speech-to-Phrase or Whisper) and a local voice (Piper), all running on your Raspberry Pi.
How It Works
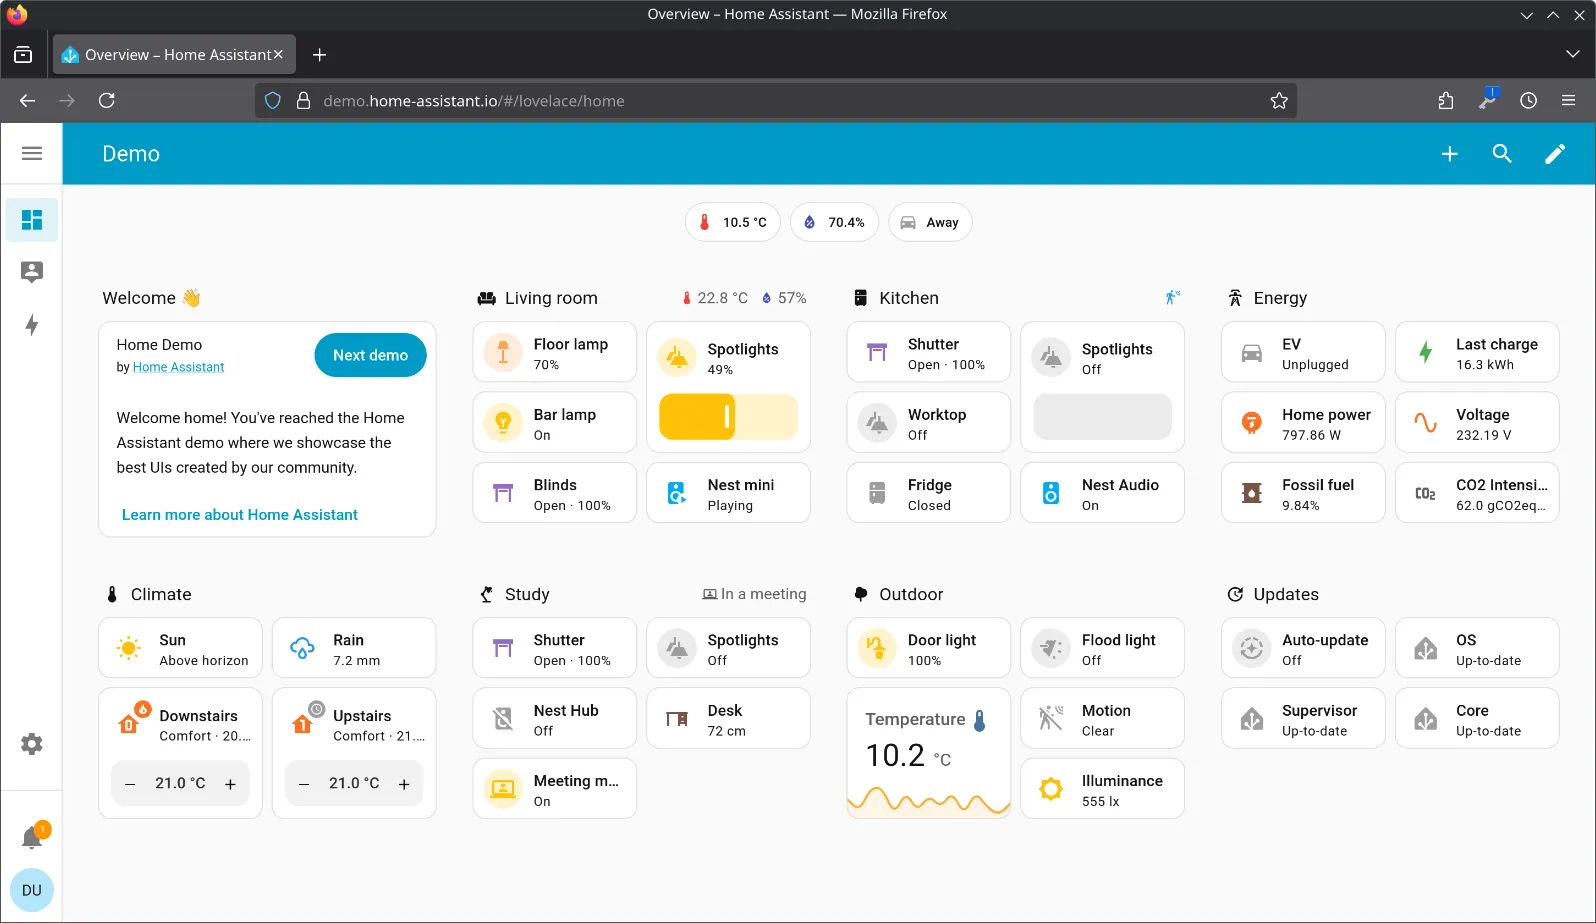
Home Assistant has its own voice assistant, called Assist. A voice command goes through three steps, and each can run locally on your Raspberry Pi:
- Speech-to-text turns what you said into text: Speech-to-Phrase or Whisper.
- Assist works out what you meant and does it (“turn on the kitchen lights”).
- Text-to-speech answers out loud: Piper.
Nothing is sent to Amazon, Google or anyone else, and it keeps working when your internet is down.
What You’ll Need
- Home Assistant OS on a Raspberry Pi 5 or 4, set up with our Home Assistant tutorial, with some devices already added
- A way to talk to it, either:
- the Home Assistant app on your phone (its Assist button uses the phone’s microphone), or
- a voice satellite speaker such as the Home Assistant Voice Preview Edition, made for exactly this
Newer versions of Home Assistant call add-ons apps; older versions say add-ons. They’re the same thing.
Step 1: Pick Your Speech Recognition
You’ll install one of these:
- Speech-to-Phrase: recommended on a Raspberry Pi. It only understands home-control commands (turning things on and off, setting temperatures, timers), but it’s extremely fast, under a second even on a Pi 4.
- Whisper: understands anything you say, which matters if you later connect an AI chat model. It’s much slower on a Pi, around 8 seconds per command on a Pi 4, versus under a second on a fast mini PC.
For controlling a home on a Pi, start with Speech-to-Phrase.
Step 2: Install the Voice Apps
- Go to Settings → Apps (Settings → Add-ons in older versions) and open the app store.
- Find Speech-to-Phrase (or Whisper), install it, and click Start.
- Find Piper, install it, and click Start.
- Go to Settings → Devices & services. Home Assistant should have discovered both under the Wyoming Protocol integration. Click Add on each.
Step 3: Create the Assistant
- Go to Settings → Voice assistants and click Add assistant.
- Give it a name and choose the language you’ll speak.
- Set Conversation agent to Home Assistant.
- Set Speech-to-text to Speech-to-Phrase (or Whisper) and choose the language.
- Set Text-to-speech to Piper, then pick a voice. Listen to a few; quality varies between voices and languages.
- Save, and use the menu to make it your preferred assistant.
Step 4: Choose What Voice Can Control
Assist can only control devices you expose to it, which keeps something like a door lock off-limits unless you decide otherwise.
Go to Settings → Voice assistants → Expose and add the lights, switches, thermostats and so on that you want to control by voice. Giving devices and rooms clear names (“Living Room Lamp”, in an area called “Living Room”) makes commands much more reliable.
Step 5: Talk to It
From your phone: open the Home Assistant app, tap the Assist icon (top right of a dashboard), tap the microphone and say “Turn on the living room lamp.”
From a voice speaker: add the Voice Preview Edition (or another satellite) through its setup flow in Home Assistant and assign your new assistant to it. It listens for a wake word, so you can talk to it hands-free across the room.
Commands to try:
- “Turn off all the lights in the kitchen.”
- “Set the thermostat to 20 degrees.”
- “Is the front door locked?”
- “Set a timer for 10 minutes.” (on voice satellites)
Tips
- Name things the way you say them. If you call it “the big light”, rename the entity or add an alias in its settings.
- Use areas. “Turn off the lights” from a speaker assigned to the bedroom only affects the bedroom.
- Want it to chat? Whisper plus a local AI model (for example Ollama on a gaming PC) can answer open-ended questions, but a Pi is too slow for that; you’d need a faster machine for speech recognition and the model.
Troubleshooting
“Sorry, I couldn’t understand that”: the device probably isn’t exposed (Step 4), or its name doesn’t match what you said. Try the exact name shown in Home Assistant.
Speech-to-Phrase doesn’t recognize a new device: it works from the names of your exposed devices. Check the device is exposed (Step 4); if it still isn’t recognized after adding or renaming it, restart the Speech-to-Phrase app.
No voice reply: check Piper is running in Settings → Apps, and that the assistant’s text-to-speech is set to Piper.
Very slow responses: you’re probably using Whisper on a Pi. Switch to Speech-to-Phrase in the assistant’s settings.