Connect a Raspberry Pi to an Old CRT TV for Authentic Retro Gaming
Old games were made for tube TVs. Use the Raspberry Pi's composite video output to play them on a real CRT: which Pi to use, the right cable (or a solder job on the Pi 5), the config.txt settings, and NTSC vs PAL.
Why a CRT?
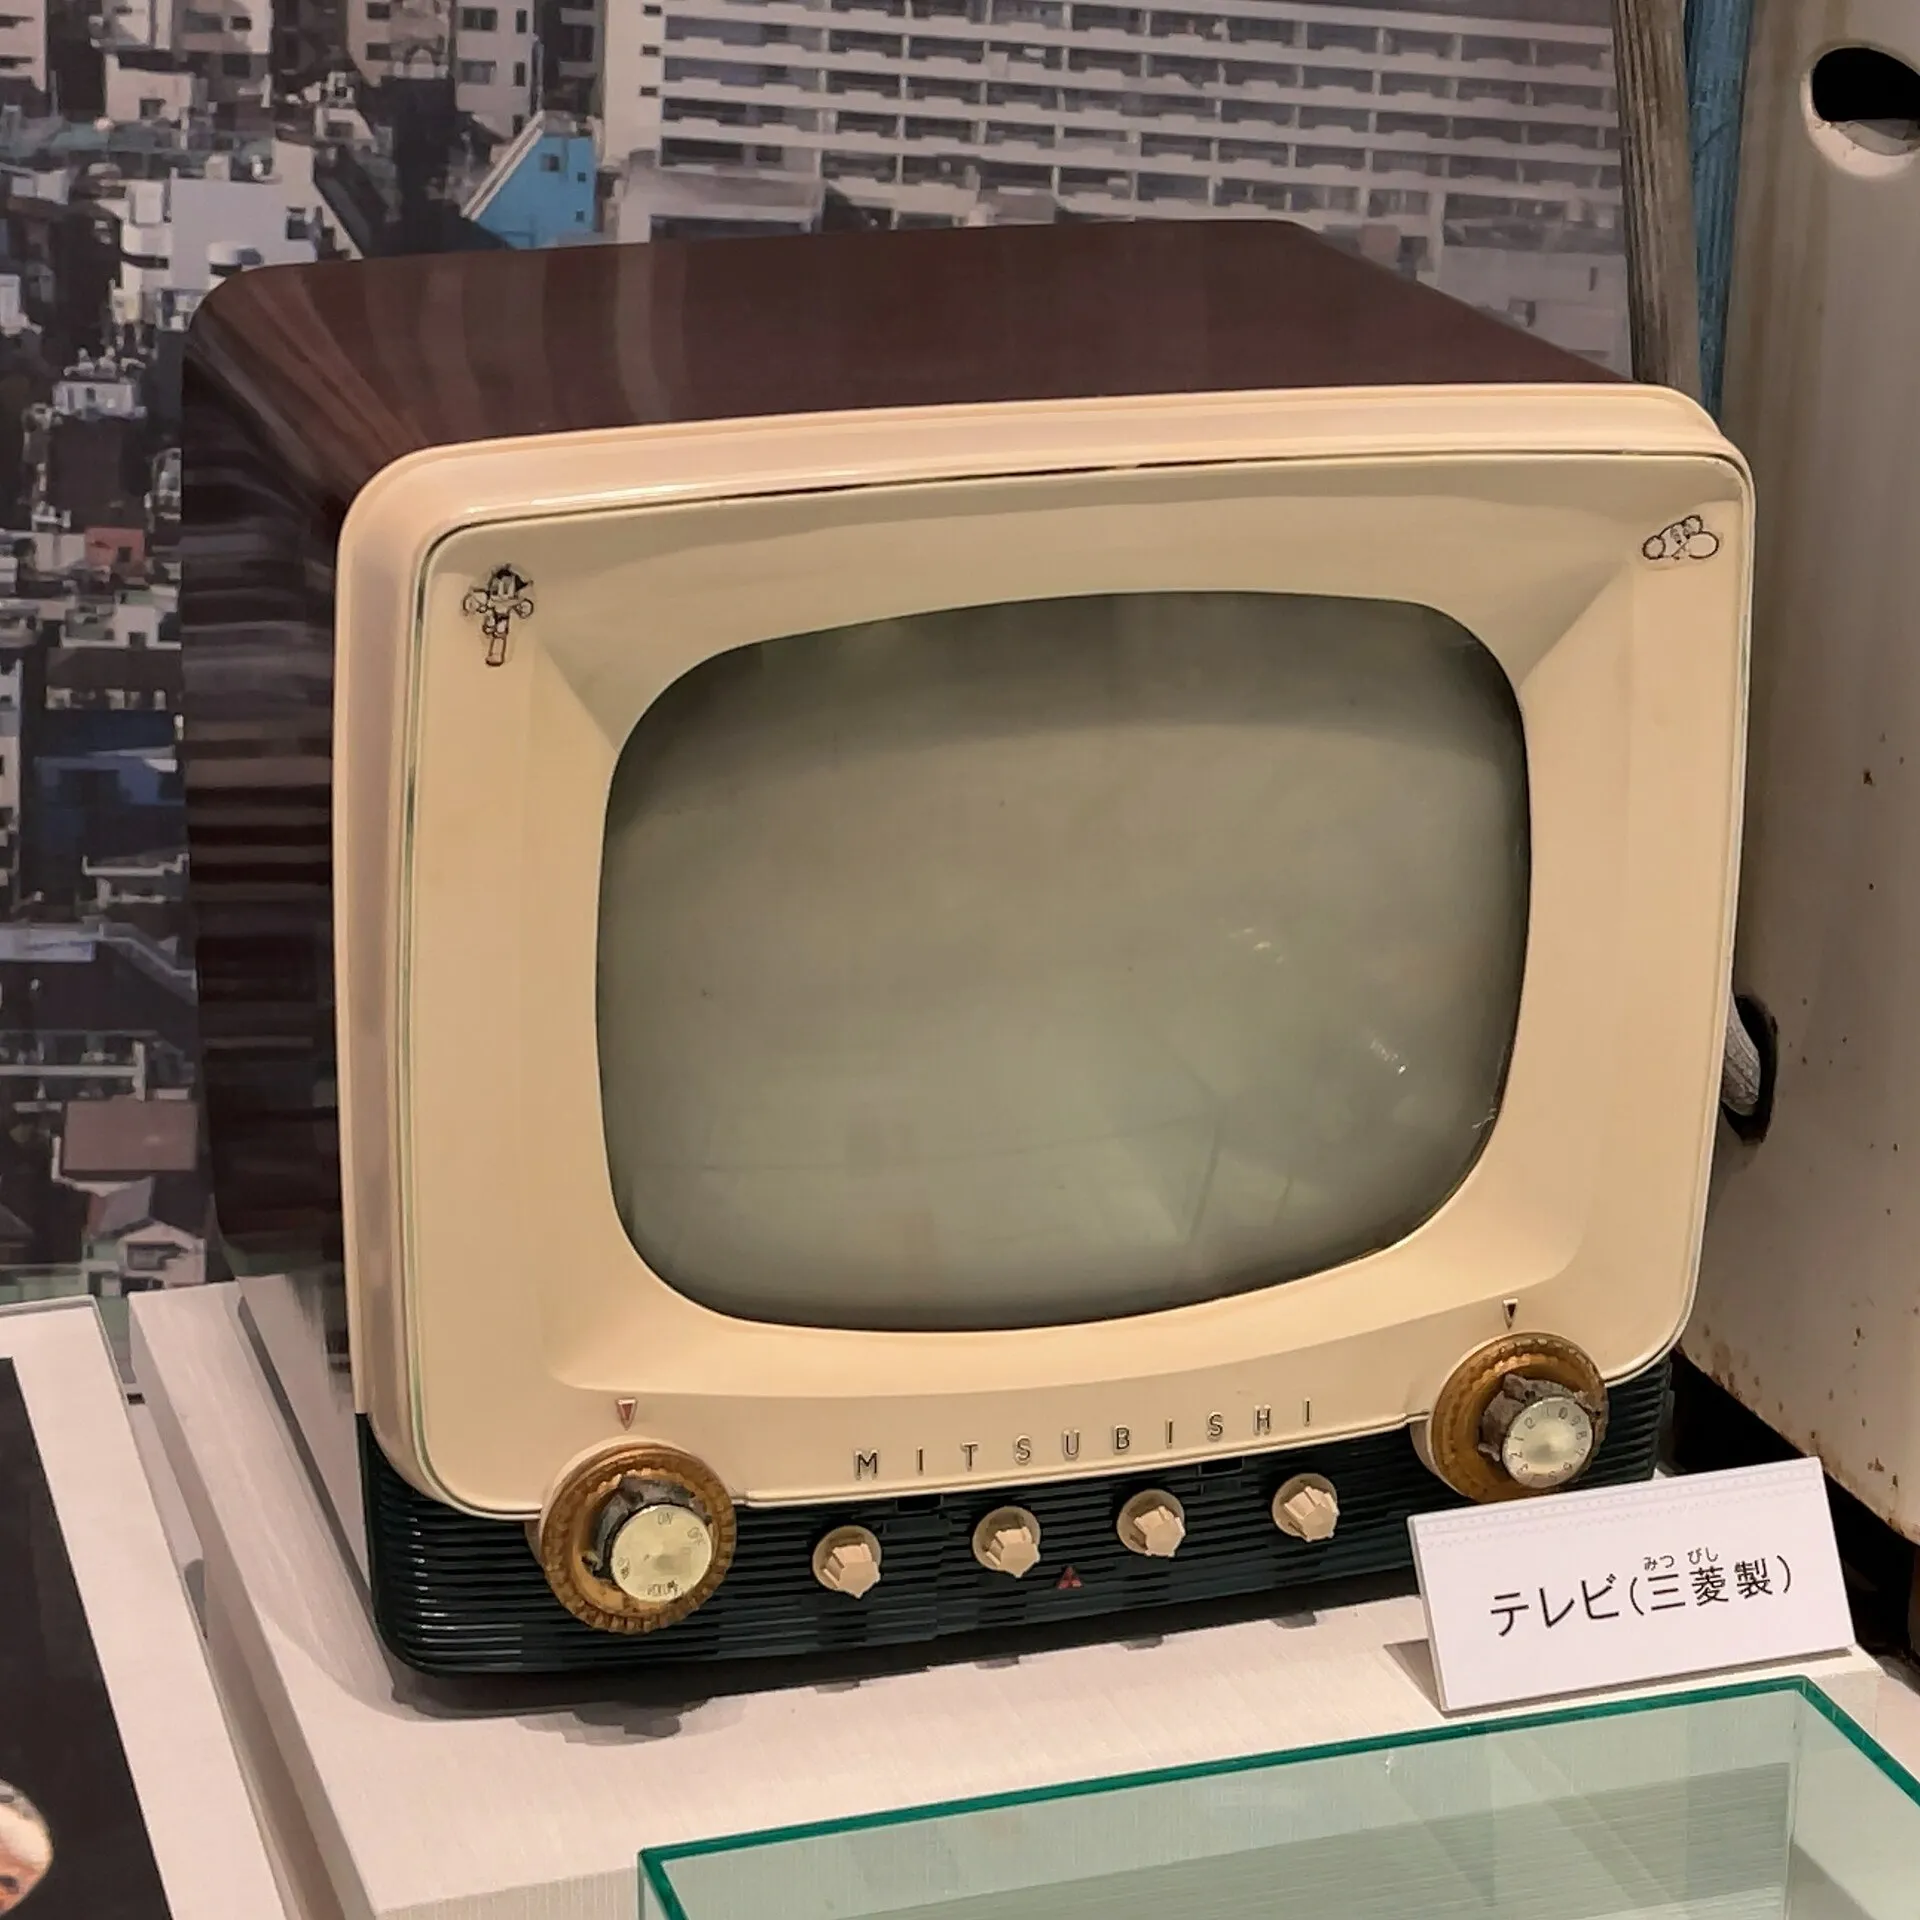
Classic console games were designed for tube (CRT) televisions. The pixel art was drawn knowing the TV would soften and blend it, with visible scanlines and colors that bled slightly together. On a modern flat screen the same games look sharp and blocky; on a CRT they look the way the artists intended, and there’s essentially no display lag.
Most old TVs accept composite video, the yellow RCA plug, and the Raspberry Pi can output it.
Which Pi?
- Raspberry Pi 4 (and Pi 3): composite video comes out of the 3.5mm AV jack, the same socket as headphone audio. You just need the right cable. This is the easiest choice.
- Raspberry Pi 5: there’s no AV jack. Composite video is on a small unpopulated pad labeled J7, next to an HDMI socket, so you need to solder a wire or pin header, and the Pi 5 also needs a USB audio adapter for sound.
The Pi 4 is the simpler choice for this project, and it’s plenty for the 8-bit and 16-bit games that suit a CRT best.
What You’ll Need
- A Raspberry Pi 4 (or Pi 5 with soldering tools)
- An old TV with a composite (yellow RCA) input, or a SCART TV with a composite-to-SCART adapter
- A Raspberry Pi AV cable (3.5mm 4-pole jack to three RCA plugs). Buy one sold for the Raspberry Pi: camcorder and MP3-player cables use the same plug but wire it differently, so you may get no picture.
- Retro gaming software, such as RetroPie or Batocera
The settings below are the standard ones from the Raspberry Pi documentation, for current Raspberry Pi OS and systems built on it. Batocera has its own video options and boot files; if these steps don’t give a picture there, check Batocera’s documentation on composite and CRT output.
Step 1: Connect the Cable
Pi 4: plug the AV cable into the 3.5mm jack. Connect the yellow plug to the TV’s video input and the red and white plugs to its audio inputs.
Pi 5: solder a short shielded wire (75-ohm video cable is ideal) to the J7 pad’s signal and ground points, ending in a female RCA socket, and connect that to the TV’s yellow input. Plug a USB audio adapter into the Pi and run its output to the TV’s audio inputs. Check the Pi 5 documentation for J7 before soldering, and keep the wire short.
Don’t connect an HDMI screen at the same time; composite only works with HDMI turned off.
Step 2: Turn On Composite Output
Put the Pi’s SD card into your computer and open the boot partition (called bootfs, or the boot partition of your retro gaming software). Edit config.txt:
- Find the line
dtoverlay=vc4-kms-v3dand add,compositeto the end:
dtoverlay=vc4-kms-v3d,composite- On a Pi 4 or Pi 5, also add this line on its own, because composite is turned off by default on these models:
enable_tvout=1Save the file.
Step 3: Choose NTSC or PAL
The Pi outputs NTSC by default, the North American and Japanese standard. If your TV is European or Australian (PAL), the picture will roll or be black and white until you change it.
Open cmdline.txt in the same boot partition. It’s a single line: add a space at the end of that line, followed by:
vc4.tv_norm=PALKeep everything on that one line; a line break stops the Pi from booting properly. Other options include NTSC-J (Japan) and PAL60.
Put the card back in the Pi, connect it to the TV, and power on. The Pi’s boot messages and menu should appear on the CRT.
Step 4: Make the Games Look Right
- Keep the shape: set games to their original 4:3 shape rather than stretching. Most retro software has an aspect ratio setting.
- Turn off shaders and scanline filters: the CRT draws real scanlines; filters meant to imitate a CRT on a flat screen just make it blurry.
- Expect a soft menu: composite is low resolution, so menus with small text can be hard to read. Games themselves look great.
Troubleshooting
No picture at all: check enable_tvout=1 is present, ,composite is on the vc4-kms-v3d line, and no HDMI screen is connected. Then try a different AV cable; the wiring of cables sold for other devices differs.
Picture rolls or is black and white: wrong standard. Set vc4.tv_norm=PAL (or NTSC) in cmdline.txt to match your TV.
No sound on a Pi 4: the red and white plugs may be swapped with the yellow on a non-Pi cable. Try swapping plugs, or use a cable made for the Pi.
The Pi won’t boot after editing cmdline.txt: it probably got split onto two lines. Put everything back on one line.
Interference or wavy lines on a Pi 5: the soldered wire is too long or unshielded. Use short 75-ohm shielded cable.