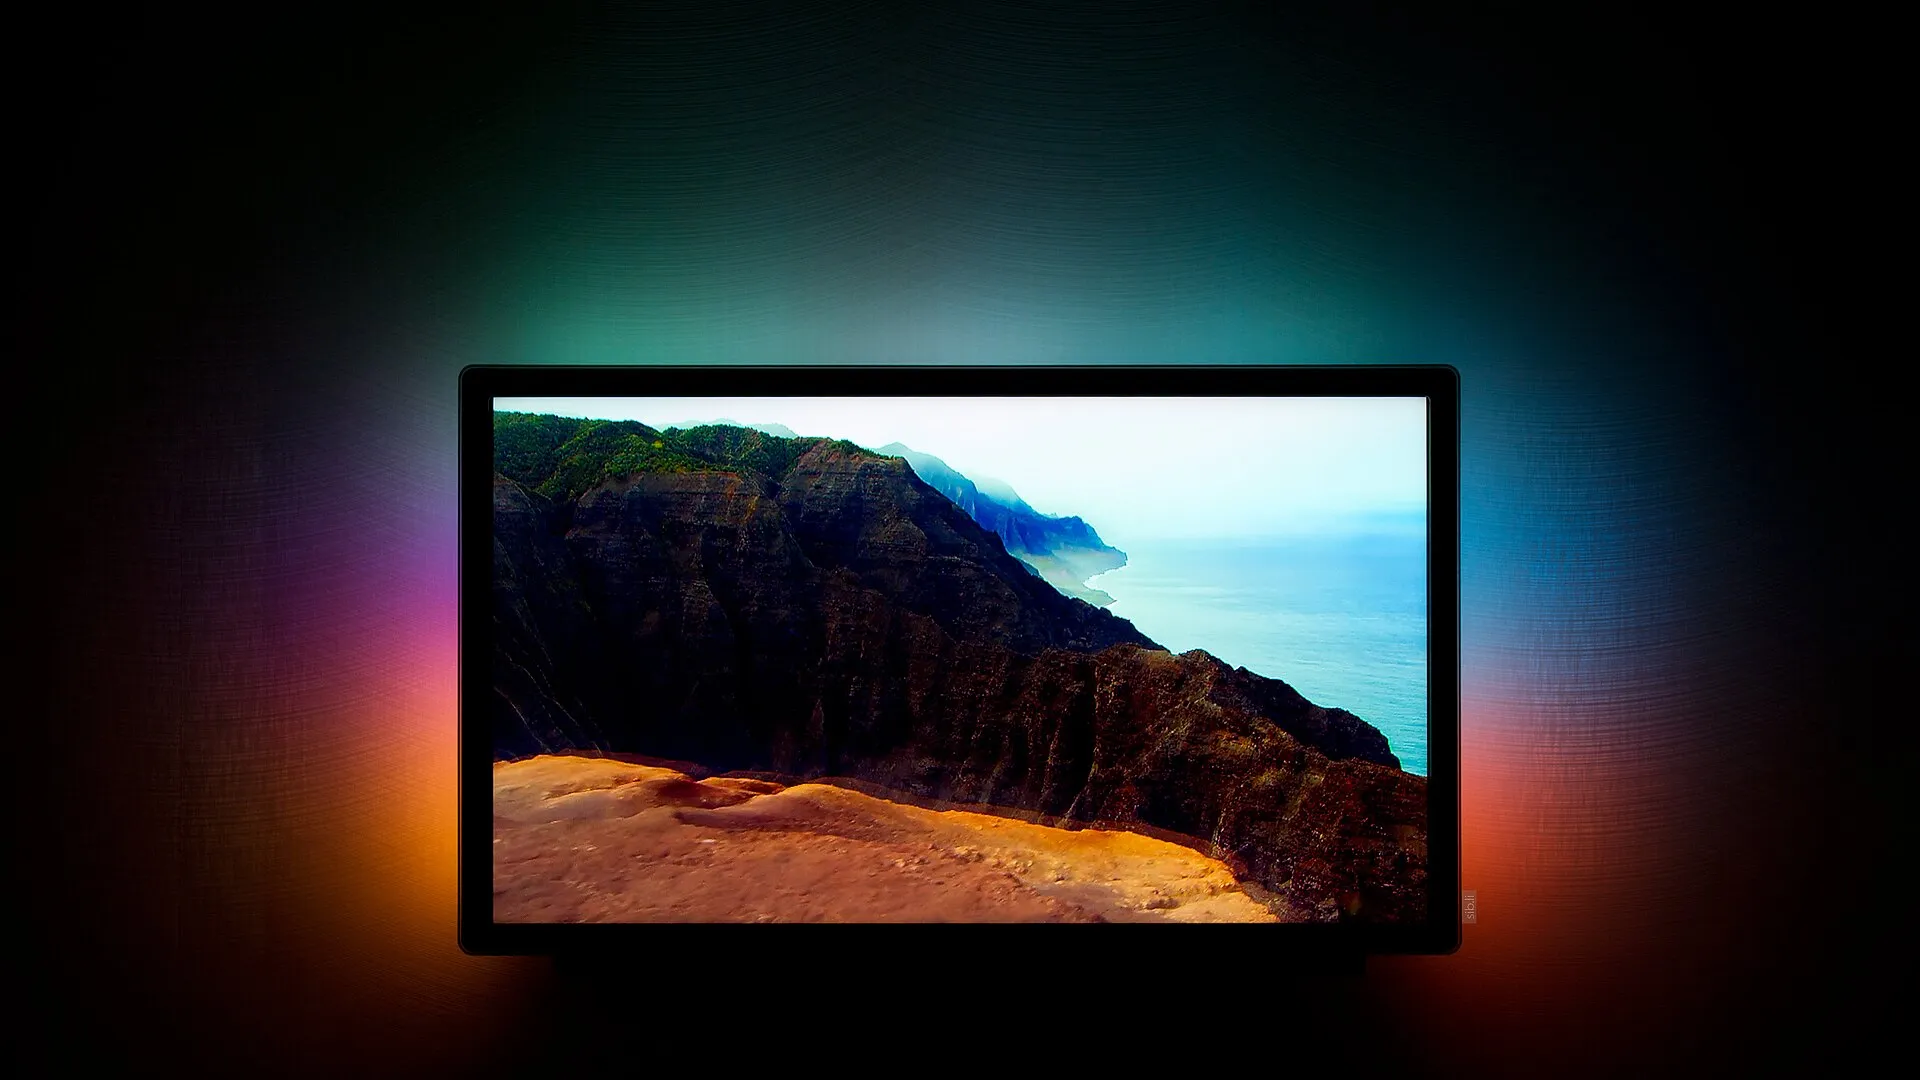
DIY Ambilight: TV Backlighting That Follows the Picture
Build Ambilight-style LED backlighting that mirrors the colors on screen, using Hyperion on a Raspberry Pi, an HDMI capture card and an LED strip run by WLED. Works with game consoles and PCs; here's why streaming apps are different.
What You’re Building
LEDs on the back of your TV glow with the colors at the edges of the picture: blue sky spills onto the wall above, an explosion flashes orange around the sides. Philips calls it Ambilight; this is the do-it-yourself version, built from parts that cost a fraction of a new TV.
How the pieces fit:
- An HDMI splitter sends your console or PC’s picture to the TV as normal, and a copy to a USB capture card.
- Hyperion, free software on a Raspberry Pi, reads the copy and works out the color along each edge.
- It sends those colors over Wi-Fi to an ESP32 board running WLED, which drives an LED strip stuck to the back of the TV.
Read This First: Streaming Apps Won’t Work
Netflix, Disney+, Prime Video and other streaming apps protect their video with HDCP, a copy protection on the HDMI cable. A capture card sees a black screen (or nothing) for protected video, so the lights go dark. Devices that strip HDCP exist, but bypassing copy protection is illegal in many countries, including under the US DMCA and EU law, so we don’t cover it.
What does work: game consoles with HDCP turned off (the PlayStation 5 has a setting for it; the Nintendo Switch doesn’t use HDCP for games), PCs, and other sources without copy protection. Many TV boxes switch HDCP on for everything, so they’re unlikely to work either. If backlighting for streaming is what you want, a licensed product such as the Philips Hue Play HDMI Sync Box, or a TV with Ambilight built in, is the way to go.
What You’ll Need
- A Raspberry Pi 4 or 5 with Raspberry Pi OS (64-bit), wired to your network
- An ESP32 development board (a few dollars) to drive the LEDs
- A WS2812B (or SK6812) 5V LED strip, long enough for the back of your TV, typically 60 LEDs per meter
- A 5V power supply sized for the strip: allow about 0.3A per LED at full white for safety, so a 2–3m strip often needs a 10A supply. The strip must not be powered from the Pi or the ESP32.
- An HDMI splitter with two outputs. For a 4K TV, choose one that can send 1080p to its second output while passing 4K to the TV.
- A USB HDMI capture card (the common USB 2.0 “MS2109” sticks are fine; Hyperion only needs a small picture)
- Wire, solder or connectors, and double-sided tape or clips for the strip
Step 1: Stick the LEDs on the TV
Starting at the bottom-left corner (as seen from the front), run the strip around the back of the TV, a few centimeters in from the edge, clockwise: up the left side, across the top, down the right, and back along the bottom. Leave a gap at the bottom middle if the stand is in the way.
Count the LEDs on each side; you’ll need the numbers in Step 5.
Step 2: Wire the Strip
- Connect the strip’s 5V and GND to the power supply.
- Connect the strip’s data wire (DIN, at the start of the strip) to a GPIO pin on the ESP32, such as GPIO 16.
- Connect the power supply’s GND to the ESP32’s GND too: they must share ground or the data signal won’t work.
- Power the ESP32 from USB.
For long strips, feed 5V and GND into both ends of the strip as well, so the far end doesn’t fade to orange. If LEDs flicker, a 3.3V-to-5V level shifter on the data line usually cures it.
Step 3: Put WLED on the ESP32
WLED is free firmware that turns an ESP32 into a Wi-Fi LED controller.
- Plug the ESP32 into a computer with USB and open install.wled.me in Chrome or Edge.
- Click Install, choose the board’s port, and wait for it to finish.
- Connect it to your Wi-Fi when prompted (or join the “WLED-AP” network it creates and set Wi-Fi from there).
- Open WLED (in the WLED app, or at its IP address in a browser) and go to Config → LED Preferences. Set the data GPIO to the pin you wired (16 in our example), the LED type (WS281x or SK6812), the length to your total LED count, and the power supply’s current limit. Save.
The strip should light up, and the color wheel in WLED should control it. If it does, the wiring is right.
Step 4: Install Hyperion on the Pi
Plug the USB capture card into the Pi and run Hyperion’s official install script:
curl -sSL https://releases.hyperion-project.org/install | bashIt adds Hyperion’s package repository, installs it, and starts it. Open http://YOUR-PI-IP:8090 in a browser for Hyperion’s web interface.
Step 5: Configure Hyperion
In Hyperion’s web interface:
- LED hardware → LED Controller: choose WLED as the controller type. Hyperion can usually discover WLED on the network; otherwise enter its IP address. Save.
- LED hardware → LED Layout: enter how many LEDs are on the top, bottom, left and right, and where the strip starts (bottom-left in Step 1). The preview shows the layout; Hyperion’s identify buttons light single LEDs so you can check the corners match.
- Capturing hardware → USB Capture: enable it and pick your capture card. A capture resolution like 640×480 or 1280×720 is plenty.
- Turn on your console or PC. In the live video preview you should see the picture, and the TV’s backlight should follow it.
Step 6: Connect the HDMI
Wire it like this: console or PC → splitter input, splitter output 1 → TV, splitter output 2 → capture card → Pi.
On a PlayStation 5, turn off HDCP in Settings → System → HDMI (named Enable HDCP). The console then can’t play streaming apps through that HDMI connection until you turn it back on, which is one more reason to keep streaming on a separate device.
Fine-Tuning
- Brightness and smoothing: Hyperion’s Image Processing settings soften flicker during fast scenes and dim the LEDs for evening viewing.
- Black bars: enable black border detection, so letterboxed movies light the wall with the picture, not the black bars.
- Color matching: if white looks blue-ish or yellow, adjust the color calibration (also under Image Processing) until the wall matches the screen.
Troubleshooting
LEDs stay off: test the strip with WLED’s color wheel first. If WLED can’t light it, check the data pin, the shared ground and the LED type.
Hyperion shows no picture: the source is probably sending HDCP. Test with a game console menu or a PC desktop. If the preview is still empty, make sure Hyperion sees the capture card under USB Capture.
Colors lag behind the picture: lower the capture resolution, use Ethernet for the Pi, and make sure the ESP32 has a strong Wi-Fi signal.
Corners are wrong: recheck the start position and direction in the LED layout; the identify buttons make it quick to find the first LED.